Shop & Items
Every Worming from Home Shop item covered — hats like the Beverage Hat, furniture like the L-Desk and Reading Nook, trinkets and Smartphone rewards.
Introduction
The Shop is Worming from Home's toy box, and it is smarter than it looks. On the surface it sells comedy — a hat that holds a beverage, trinkets shaped like tiny trophies, a sofa for your apartment — but the catalog quietly splits into items that unlock systems, items that gate achievements and items that are pure joy. The L-Desk changes how you physically work, the Reading Nook gates an entire perk tree, and the Smartphone rewards feed both cosmetics and the Worm-fluencer achievement. This section covers every purchasable category: what each item actually does, which purchases are functional in disguise, the sensible buy order for a salary-limited worm and the full-sweep strategy completionists need for the 0.8% Expensive Taste achievement.
Shop Item Priority Guide
| Item | Category | Why buy it |
|---|---|---|
| L-Desk | Furniture | Bigger workspace and more room to fling during tasks |
| Reading Nook | Furniture | Required to start training Financial Insight |
| Beverage Hat | Hat | Drinking while wearing it unlocks an achievement |
Item Spotlights
Furniture That Works
Two purchases that change how the game plays.
The Hat Rack
Headwear where comedy hides unlock keys.
Trinkets & Treats
The long tail of the catalog — small prices, big checklist.
Core Mechanics
Everything in the Shop is bought with salary, so the catalog is really a spending curriculum. Functional furniture comes first: the L-Desk expands your workspace and the Reading Nook unlocks the Financial Insight system, meaning both purchases literally increase your earning power. Hats and outfits are cosmetic but occasionally achievement-gated — the Beverage Hat turns a silly accessory into the key for A Thirsty, Thirsty Worm. Trinkets and little treats are pure collection fuel, existing mostly to make Expensive Taste expensive. Finally the Smartphone overlaps the shop economy from the reward side: completing tasks and odd objectives earns redeemable rewards that include cosmetics you would otherwise buy. The shop restocks nothing in real time — prices are fixed, so planning is purely about your salary curve.
Advantages
The Shop respects two kinds of players at once. Optimizers get a small, legible set of functional purchases with real returns — no gacha, no rotating stock, no FOMO timers, just fixed prices and permanent items. Collectors get a complete catalog where every purchase counts toward a measurable goal, and the Smartphone reward track layers free cosmetics on top of normal play. Because every item is also an achievement component, the shop never feels like a separate chore: the worm who buys naturally across a run arrives at Expensive Taste with only the priciest stragglers left. And unlike the perk trees, shop purchases are instant — no training time, no free-time cost — which makes spending evenings shopping a genuinely efficient endgame activity.
Challenges
The Shop's weakness is that its most important items are the least flashy. Nothing tells you that the Reading Nook gates a whole perk tree or that the Beverage Hat is secretly an achievement key — a worm buying by vibes will grab the funny hat and delay the functional purchase that doubles their income. The full-catalog requirement behind Expensive Taste also means late-game shopping is a long, unglamorous checklist: buying your fifteenth trinket feels nothing like the first hat. Prices are fixed and never discounted, so there is no clever timing to discover — the only lever is earning faster. And the smartphone reward track, generous as it is, partially duplicates shop items, which can trick frugal worms into skipping purchases they will eventually need to repeat for the collection.
Frequently Asked Questions
What should I buy first in the Shop?+
How do I complete the Expensive Taste achievement?+
Do Smartphone rewards duplicate shop items?+
Quick Tips
Read item descriptions before buying anything. The game deliberately hides function inside jokes — the items that sound most useless are frequently achievement keys in disguise, and the items that sound boring are precisely the ones that raise your salary curve for the rest of the save. Fold it into your normal routine and the benefit compounds quietly across the entire career.
Shop after payday, not before it. Prices are fixed and never discounted, which means the only real variable is your balance — buying at the top of your salary curve keeps the emergency fund intact for calendar purchases and stock dips instead of regretting a trinket on rent day. Fold it into your normal routine and the benefit compounds quietly across the entire career.
Sweep the catalog in ascending price order during the Expensive Taste grind. Cheap trinkets bought early deliver visible percentage progress immediately and build momentum, while the expensive furniture naturally arrives through your normal optimization purchases anyway — no sense duplicating effort or draining the fund early. Fold it into your normal routine and the benefit compounds quietly across the entire career.
Featured

Worming from Home Furniture Guide: Reading Nook and Desk Rewards
Deck out your worm-sized home with this Worming from Home furniture guide covering reading nook upgrades, desk picks, and every smartphone reward worth redeeming.
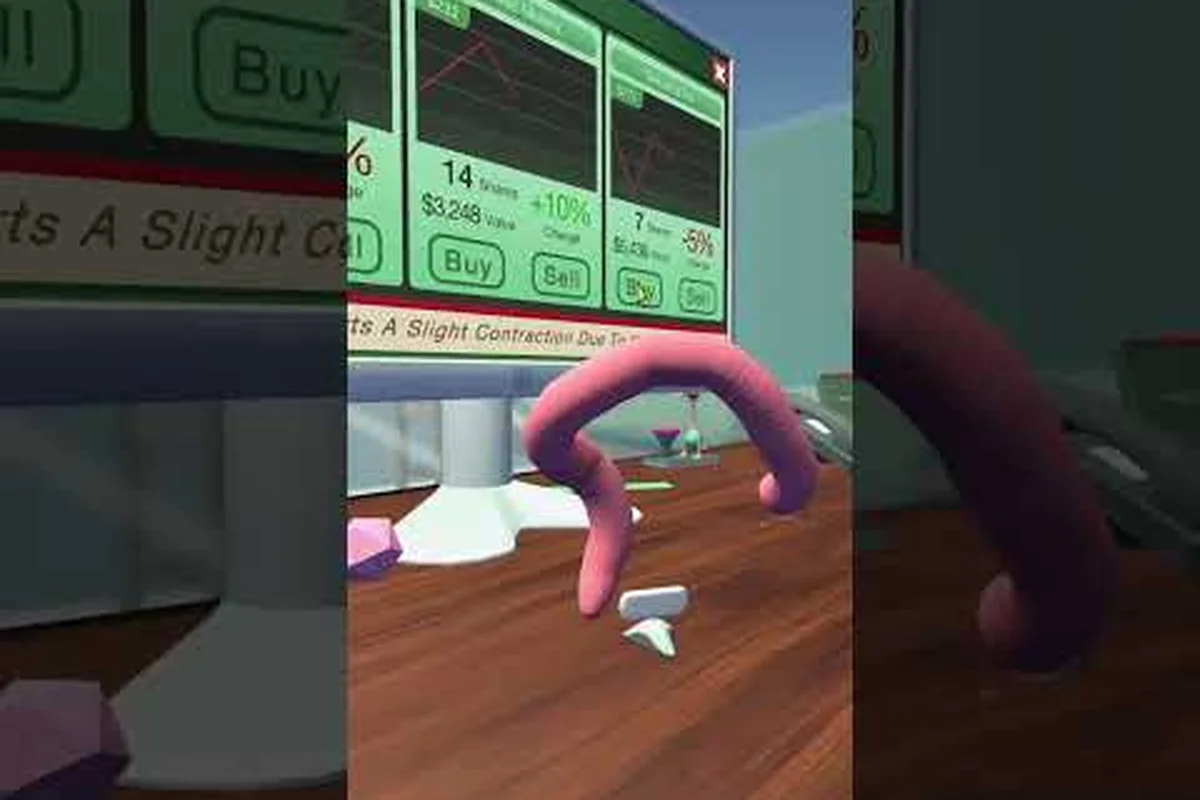
Worming from Home Shop: Every Hat, Trinket, and Furniture Item
Tour the full Worming from Home shop with hats, trinkets, furniture, and the L-Desk, plus which cosmetics and upgrades are worth your first paycheck.
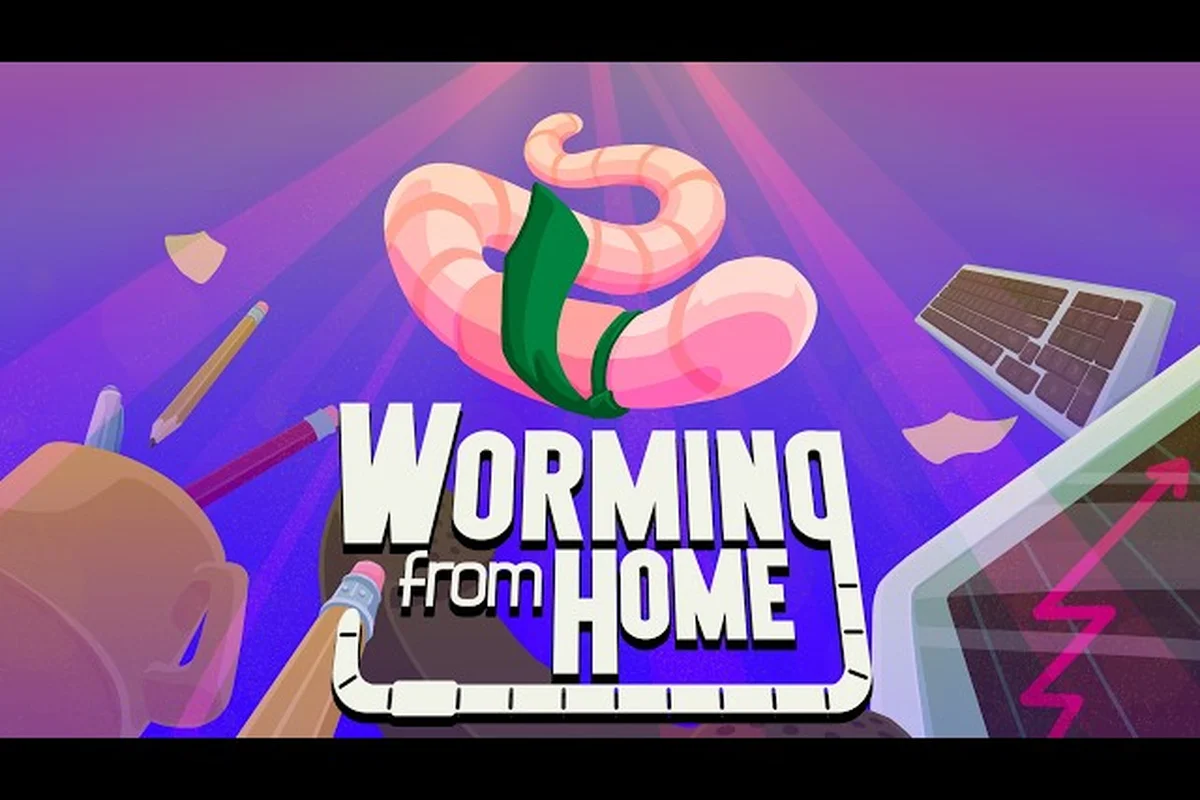
Worming from Home Shop Guide: Where to Spend Your Salary
Browse the full Worming from Home shop with every hat, trinket, and furniture item listed, including the Beverage Hat, Expensive Taste route, and best early buys.
All Articles

Worming from Home Unlock Shop Items: Prices and Cheapest Buys
Worming from Home unlock shop items guide with full price lists, restock timing and the cheapest upgrades before the 0.8% Expensive Taste run.

Worming from Home Glasses Cosmetic: Shop Unlock and Style Tips
Dress up your worm with the Worming from Home glasses cosmetic, plus tie and hidden shop items worth grabbing for fun cosmetic achievements.

Worming from Home Worm Fluencer Rewards: Every Smartphone Unlock
Unlock every Worming from Home Worm Fluencer reward by redeeming all smartphone items, including the 1.9% rarity achievement path, hidden hats, and drinks.