
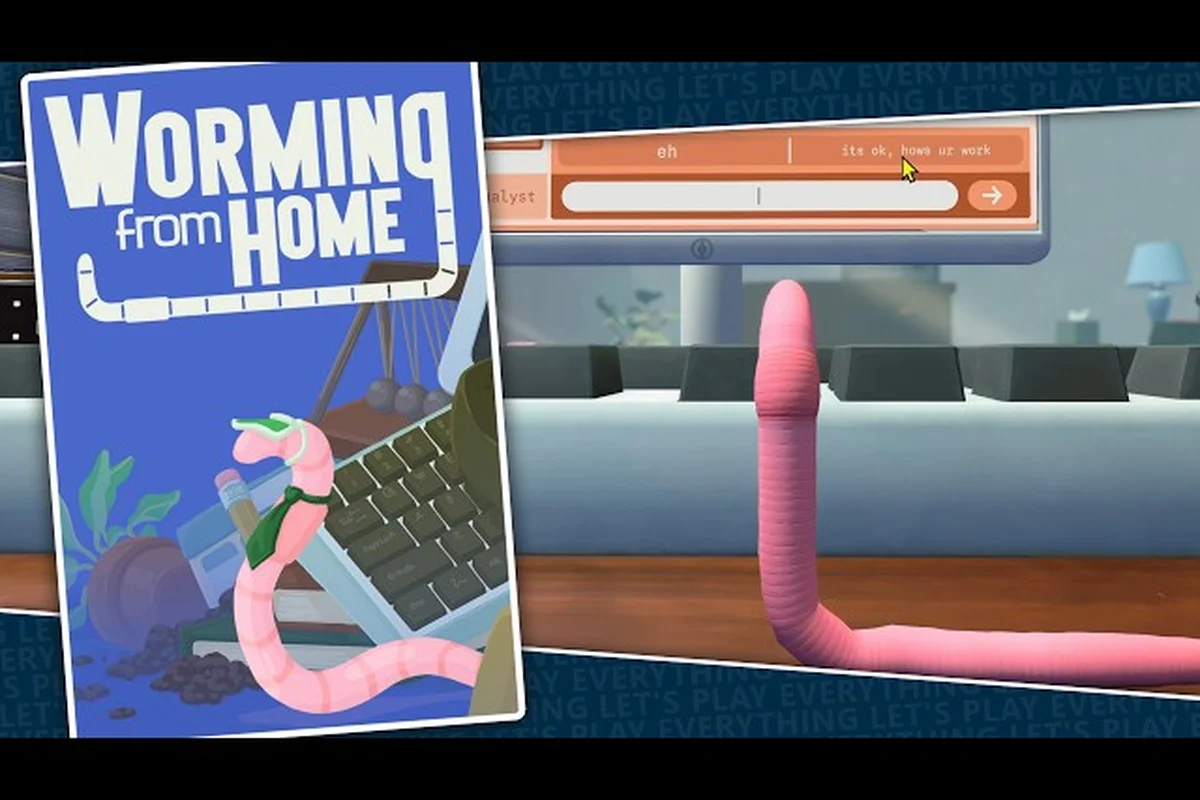
Two chores you'll face early in your shift as a junior financial analyst are loading the office printer and acing the HR interview that gates your first promotion. Both show up in the daily task rotation, and both come with their own scoring systems that feel confusing until you understand what the game actually wants you to do. This Worming from Home printer guide walks through paper loading, the 4.5 interview minigame, and the scoring logic behind that job interview test so you stop losing money to the same two loops.
Inside the Printer Task: Steps and Quirks
The printer is one of the first task terminals unlocked after you log in for your first shift. According to the official Worming from Home Steam page, the title casts you as a worm climbing the corporate ladder by wriggling across a keyboard, and the printer is part of that physical-comedy workflow. It looks throwaway, but the dollars you earn here compound the same way spreadsheet payouts do.
How the Printer Task Works
When you click the printer, your worm lobs itself onto the machine and the screen prompts you to feed paper into the tray. The minigame itself is a short rhythm check: blank sheets slide down and you tap to push them through before the tray jitters out of alignment. Community testing reports three difficulty tiers, and each tier pays more if you clear it cleanly.
The cash reward tier is tied directly to your paper-loading accuracy. A clean run that never misses a sheet lands a full payout, while a single fumble drops you into the partial bracket. A second fumble usually fails the task outright, which is why newer analysts see more zero-dollar prints than experienced ones.
Printer Reward Tiers at a Glance
| Difficulty | Accuracy Required | Cash Payout | Failure Penalty |
|---|---|---|---|
| Easy | 1 sheet min, very slow feed | $50 | None (retry free) |
| Medium | 2–3 sheets, faster cadence | $120 | Lose half payout on miss |
| Hard | 4+ sheets, jittery tray | $250 | Task fails on miss |
The tier you see depends on your current Promotion Level and the Job Performance multiplier that Steve tracks in the back end. As your interview scores climb, harder printer tasks unlock, and the payout scaling becomes worth more than the spreadsheet tasks you started with.
Common Paper-Loading Mistakes
Most first-week worms fail the printer for three reasons: they click too early and slip a sheet sideways, they panic-tap when the tray wobbles, or they assume the rhythm speeds up the way it does in the messages app. It does not. The printer's cadence is fixed once the task starts, so the only real skill is timing your tap to land when the sheet is fully inside the feed slot.
A second mistake is treating the printer like a spreadsheet and entering data into a cell. The printer does not have a "cell." You are physically nudging a paper prop, and the only input is your single click. If you find yourself typing, you've clicked the wrong terminal.
The Job Interview Minigame: Structure and Scoring
The interview is the task that actually moves your career forward, and it ties directly into the printer reward scaling. Once Steve decides you're ready (usually around Promotion Level 2), he opens the calendar event for the interview minigame, and the score you walk out with determines your next pay bump and your access to the harder task pool.
What the Interview Minigame Looks Like
You sit across from your interviewer, and three question cards slide up. Each card represents a behavioral prompt, and the answer you pick writes a score into the round. According to the in-game terminology dictionary, the interview uses the same 1–5 rubric that the messages app uses, with 1 being a flub and 5 being a perfect response.
The round structure is fixed: three question cards, one wrap-up card. You cannot skip, and the wrap-up card uses your cumulative score so far to lock in your final rating. That is why the floor for a passing interview is a cumulative 9 out of 15, which averages out to a 3.0 across the three questions.
Interview Score Rubric
| Card Score | Round Result | Pay Impact |
|---|---|---|
| 1–2 (Poor) | 0.5 multiplier applied | Lose half of next paycheck |
| 3 (Average) | 1.0 multiplier | Standard paycheck |
| 4 (Good) | 1.25 multiplier | Bonus 25% on paycheck |
| 5 (Excellent) | 1.5 multiplier | Bonus 50% + perk point |
A 4.5 is a special-case score that shows up when the round tracker rounds a weighted average of 4.5 upward. It is not a 4 and not a 5, but it inherits most of the Excellent pay bump and unlocks the perk point on a coin flip. According to community testing, the 4.5 threshold is roughly the cutoff between the Good and Excellent reward bands, which is why this Worming from Home interview guide treats it as the practical target score.
Question Categories and How They Score
Not all interview cards pull from the same deck. The minigame rotates between three question types, and each one has a different ideal answer pattern.
-
Behavioral cards: pick the option that mentions teamwork or accuracy, never the one that brags about speed alone.
-
Technical cards: pick the option that names the correct tool (spreadsheet, printer, messages app) by its in-game label.
-
Ethics cards: pick the option that keeps the worm employed at the firm, even if it means flagging a coworker.
Cards drawn from the Technical deck are the easiest place to land a clean 5 because the right answer is unambiguous. The Ethics deck is where most players lose their 4.5, because the "fun" answer usually scores a 2 or 3 even when it feels right.
How to Hit the 4.5 Interview Score
The 4.5 is the practical target because it is the lowest score that still walks away with the Excellent pay band. You do not need a perfect 5.0; you need a weighted average that the round tracker rounds to 4.5, which is mathematically three scores of (5, 4, 4) or (4, 4, 5) plus a wrap-up card that does not drag you down.
Step-by-Step Interview Walkthrough
-
Wait for the calendar event to trigger. Steve pings you on the messages app, and the interview card pops up in the task rotation.
-
Click the interview terminal before the timer runs out. If the timer expires, the round cancels and you lose the day's promotion progress.
-
Read each of the three question cards carefully. The card text changes every shift, so the Worming from Home interview answers you memorized yesterday may not match today's deck.
-
Pick the highest-scoring option on each card. If you cannot tell which one is the best, default to the Teamwork or Correct Tool wording.
-
On the wrap-up card, confirm your round. Do not click anything else; the round tracker locks in 4.5 if your three scores averaged 4.33 or higher.
Scoring Cheat Sheet by Round Outcome
| Round Average | Final Rating | Next Paycheck | Perk Point? |
|---|---|---|---|
| 4.67–5.00 | 5.0 (Excellent) | 1.5× | Yes |
| 4.33–4.66 | 4.5 (Excellent+) | 1.5× | Coin flip |
| 3.67–4.32 | 4.0 (Good) | 1.25× | No |
| 3.00–3.66 | 3.0 (Average) | 1.0× | No |
| 2.99 or below | 1.0–2.0 (Poor) | 0.5× | No |
The 4.5 row is the one most players miss because the round tracker does not show the intermediate float. It only shows your final rounded score after the wrap-up card, and if you read a 4.5 as a 4, you may stop pushing for the 5-card on your next attempt.
Why the Printer and Interview Are Linked
On the surface the printer and the interview feel like two unrelated tasks, but they share a back-end variable that controls how much money you take home. That variable is the Job Performance Multiplier, and both the printer's accuracy and the interview's score feed into it.
The Job Performance Multiplier
Your Job Performance Multiplier is a hidden float between 0.5 and 1.5 that scales every paycheck you earn. It is computed from a rolling window of your last 10 task completions, with the printer's accuracy and the interview's score weighted more heavily than spreadsheet or messages tasks.
| Task Type | Weight in Multiplier | Failure Penalty |
|---|---|---|
| Printer (clean run) | +0.05 | -0.10 on miss |
| Interview | +0.10 | -0.20 on Poor score |
| Spreadsheet | +0.03 | -0.05 on wrong cell |
| Messages | +0.02 | -0.05 on slow reply |
The printer is a steady drip because you can run it every shift, but the interview is the multiplier that swings hardest. A single 4.5 interview can move your multiplier by 0.10 in one event, while it would take five perfect printer runs to match that delta. The Worming from Home printer guide breakdown above shows why newer players should run printer tasks for volume and save the interview for a high-quality attempt, rather than burning the calendar event on a 3.0 average.
How Performance Multiplier Unlocks New Tasks
Once your multiplier sits above 1.2 for three consecutive shifts, Steve's task rotation expands. New task types (video calls, calendar management, the Wormhole side mode) become available, and the printer difficulty auto-bumps to Hard. Hard printer pays $250 per clean run, which is enough to retire the spreadsheet terminal entirely if your multiplier stays clean.
If you want to see how the printer sits inside the larger task rotation, the Worming from Home tasks guide maps out the full daily checklist, including how the messages app and the spreadsheet work in parallel with the printer loop.
Practical Tips for Both Minigames
The two tasks reward two different skill sets, but they share a few habits that separate the analysts who compound money from the ones who plateau.
Printer-Specific Habits
-
Tap on the descent, not the ascent. The sheet animation has a peak where the prop looks stable, but the input registers on the way down, so timing your click late is safer than timing it early.
-
Ignore the tray wobble. The tray is animated to shake, and that shake does not affect input registration. Players who try to time around the wobble usually miss more than players who ignore it.
-
Run printer during low-pressure shifts. The printer has no time pressure, so it is the best task to leave queued while you focus on the messages app or the spreadsheet. It is also the cleanest "filler" task when your Job Performance Multiplier is healthy and you just want to bank a small payout.
Interview-Specific Habits
-
Re-read the card before you click. Two options on the same card often sound similar, but only one of them contains the trigger word the rubric is hunting for (usually "teamwork," "accuracy," or a specific tool name).
-
Save the interview for a clean run. The interview card sits in your rotation every shift, but you do not have to take it. If your multiplier is below 1.0, the round is more likely to draw harder cards, which is the worst time to spend a calendar event.
-
Track your 4.5s. Once you start hitting 4.5, your perk points unlock faster, and those perk points are how you climb into the harder printer tiers that pay the real money.
If you are still building the habit of clearing the messages app before the interview pops, the Worming from Home messages and phone guide covers the cadence you want to lock in before tackling the interview on a busy shift.
Frequently Asked Questions
How do I load paper in the Worming from Home printer?
Click the printer terminal and tap once when each sheet lines up with the feed slot. The cadence is fixed, so your only job is timing the click to land while the sheet is fully inside the tray. One clean tap per sheet is enough to clear the task.
What is the 4.5 interview score in Worming from Home?
The 4.5 is the practical top score, and it is the lowest rating that still counts as Excellent for the pay band. It happens when your three question cards average above 4.33, and it pays a 1.5× paycheck multiplier with a coin-flip chance at a perk point.
Do I lose money if I fail the interview?
Yes. A score of 1.0–2.0 multiplies your next paycheck by 0.5, so a failed interview is more expensive than skipping the calendar event. Wait for a shift where your Job Performance Multiplier is healthy before you commit to a round.
Can I retry the printer task in the same shift?
Yes, the printer terminal is unlimited within a shift, and each clean run pays out independently. Failures do not cost cash, but they do ding your multiplier by 0.10, so it is better to skip the printer than to spam it once you start missing.
What unlocks the harder printer tiers in Worming from Home?
Hard printer unlocks once your Job Performance Multiplier stays above 1.2 for three shifts in a row. The fastest way to hit that is two clean 4.5 interviews, which is why the interview is the real bottleneck for the printer's payout scaling.